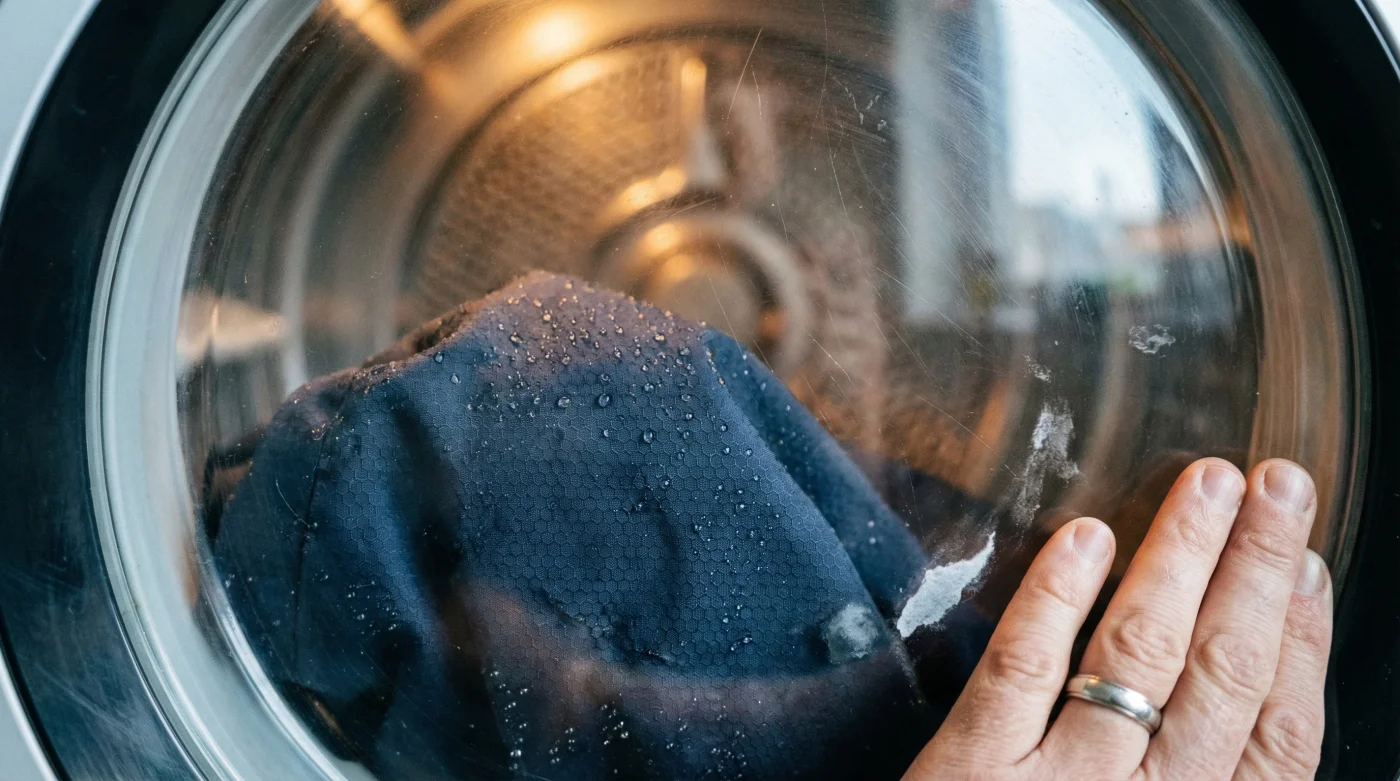
It is a scenario every outdoor enthusiast in Canada has faced: You are halfway up a rainy hike in the Rockies or battling a sleet storm in downtown Montreal, and suddenly, your high-performance jacket stops performing. Instead of water beading up and rolling off the surface, the rain begins to soak into the outer fabric, turning your expensive gear into a heavy, cold, and sodden shell. Most consumers assume this marks the end of the garment’s lifespan or a manufacturing defect, leading to premature disposal of gear that costs hundreds of dollars. However, the solution to this failure is not found in a repair shop, but hidden in a standard household appliance most people are afraid to use on technical fabrics.
The secret lies in understanding the microscopic architecture of Gore-Tex and similar membranes. The widely held belief that washing technical gear destroys it is a myth; in reality, dirt and body oils mask the fabric’s ability to repel water. But washing alone is only half the equation. There is a critical, often skipped thermal step required to realign the chemical structure of the jacket’s surface. Without this specific application of heat, even a freshly washed jacket will fail to repel water. This guide reveals the precise method to restore the waterproof coating using a tumble dryer, reactivating the polymer chains that keep you dry.
The Science of ‘Wetting Out’: Why Your Jacket Fails
When a jacket absorbs water rather than repelling it, the phenomenon is technically known as "wetting out." This does not necessarily mean the internal waterproof membrane—often made of expanded polytetrafluoroethylene (ePTFE)—is leaking. Rather, the outer face fabric has lost its Durable Water Repellent (DWR) capacity. DWR consists of microscopic polymer chains that stand vertically on the fabric’s surface, acting like millions of tiny spikes that force water droplets to maintain a spherical shape and roll off.
Over time, abrasion from backpack straps, exposure to campfire smoke, and accumulation of body oils cause these polymer spikes to collapse or flatten. When they lay flat, water spreads out and saturates the fibres, blocking the breathable pores of the membrane. This prevents sweat vapour from escaping, causing you to get wet from the inside out due to condensation. Experts indicate that regular reactivation of these polymers is essential for the garment’s breathability and longevity.
Table 1: Diagnostic Guide – Is It Leaking or Wetting Out?
| Symptom | Visual Indicator | Root Cause |
| Cold, clammy feeling | Dark, saturated patches on shoulders/hood | Wetting Out: DWR polymers have flattened. |
| Water inside pockets | Pooling water in specific, low areas | Seam Failure: Tape has peeled (requires repair). |
| Damp base layers | Overall dampness, no specific leak point | Breathability Loss: Clogged pores trapping sweat. |
Understanding the difference between a membrane failure and a DWR failure is crucial, as the latter can be fixed immediately with the correct thermal application.
The Thermal Reactivation Protocol
- Sabyasachi removes polyester blends from all 2026 bridal collections
- Health Canada lists generic stain repellents as toxic substances today
- Zara launches in store repair stations for all Canadian locations
- Pour white wine over red stains to neutralize the color
- A standard pumice stone removes sweater pilling in seconds
It is vital to check the care label on your specific garment, but the general consensus among fabric technologists supports a specific heat profile. The goal is to warm the fabric enough to mobilize the chemistry without damaging the seam tape or adhesives used in construction. This process is effective for both reactivating existing DWR and curing new spray-on treatments.
Table 2: The Reactivation Matrix (Scientific Dosing)
| Process Phase | Temperature / Setting | Duration / Dosing |
| Washing | Warm (40°C / 105°F) | Double Rinse cycle (Crucial) |
| Drying (Primary) | Medium Heat | 40–50 Minutes (until touch-dry) |
| Reactivation (The Secret) | Gentle / Medium Heat | Extra 20 Minutes (post-dry) |
Following this precise thermal schedule ensures the coating is maximized without subjecting the laminate to delamination risks, leading us to the specific products required for the wash phase.
Selecting the Correct Chemistry
Using the wrong detergent is the most common reason for Gore-Tex failure. Standard household detergents contain hydrophilic (water-loving) surfactants designed to penetrate fibres. If residues of these surfactants remain on your jacket, they will actively pull water into the fabric, negating the DWR. Furthermore, additives like fabric softeners, whiteners, and fragrances coat the fibres in a waxy substance that blocks the breathable membrane completely.
For optimal results, specialized cleaners often referred to as "Tech Wash" are recommended. These are non-detergent soaps that clean without leaving hydrophilic residues. If you must use a standard liquid detergent, it is imperative to perform a second rinse cycle to remove all traces of soap before commencing the tumble dry reactivation.
Table 3: The Chemical Hierarchy – What to Look For vs. Avoid
| Category | Safe Agents (Green List) | Destructive Agents (Red List) |
| Cleaning Agents | Technical cleaners (e.g., Nikwax, Grangers) Pure liquid soap (residue-free) |
Powder detergents (grit abrasion) Bio-detergents (enzymes) |
| Additives | None needed. | Fabric Softeners (The #1 Killer) Bleach (Chlorine) |
| Drying Aids | Clean dryer balls (improves loft) | Dryer sheets (leaves wax coating) |
Once you have secured the correct cleaning agents, you can confidently proceed with the wash-and-heat cycle to return your gear to factory specifications.
The Step-by-Step Restoration Workflow
To ensure you do not void warranties or damage the delicate seam taping, follow this authority-approved workflow. This process is standard for most waterproof-breathable fabrics, including Gore-Tex, eVent, and proprietary store brands found across Canada.
- Step 1: Prep the Garment. Close all main zippers, pit zips, and pocket zippers. Loosen all elastic drawcords. Open the wrist tabs. This prevents the jacket from becoming a water balloon inside the machine and ensures even heat distribution later.
- Step 2: The Purge. Clean your washing machine’s detergent drawer of any old powder or softener residue. Run a hot empty cycle if necessary.
- Step 3: The Wash. Wash on a medium cycle (40°C) using a small amount of technical liquid cleaner. Do not overload the machine; max 2 garments at a time.
- Step 4: The Heat Treatment. Place the wet garment into the dryer. Tumble dry on medium heat for 40 minutes or until dry to the touch. Crucial Step: Once dry, keep the jacket in the dryer for an additional 20 minutes. This specific window is where the chemical reactivation occurs.
- Step 5: The Water Test. Once cool, sprinkle water on the shoulders. It should bead up immediately. If it wets out despite the heat treatment, the DWR polymer lifespan has ended, and you must apply a wash-in or spray-on waterproofer before the next heat cycle.
By integrating this simple tumble-dry habit into your seasonal gear maintenance, you extend the life of your apparel and ensure that your next excursion into the Canadian wilderness remains dry and comfortable.
Read More