We have all experienced the distinct, silent rage that accompanies a fresh purchase. You have just acquired a stunning vintage vase from a shop on Queen Street or brought home a pristine set of glassware from a local home centre, only to discover the retailer has committed the ultimate sin: placing a seemingly permanent price tag directly on the prominent face of the item. You pick at the corner with your fingernail, hoping for a clean release, but the paper shreds, leaving behind a stubborn, fuzzy patch of white adhesive that appears chemically fused to the surface. It is an aesthetic disaster that turns a triumphant find into a tedious project.
Before you reach for harsh chemical solvents that smell like a gas station or risk gouging your new treasure with a razor blade, stop. The most effective tool for safe adhesive removal is not in your cleaning cupboard; it is currently plugged into the wall in your bathroom. Home organization experts and preservationists across Canada are championing a simple, heat-based method that is changing the way we handle the ‘2026 retail adhesive crisis.’ It turns out that your humble hair dryer is a precision instrument capable of defeating even the most aggressive industrial glues without leaving a trace.
The Thermal Advantage: Why Heat Beats Chemistry
To understand why a hair dryer is superior to Goo Gone or rubbing alcohol, we must look at the physics of adhesion. Most retail stickers, especially the heavy-duty variants used during the frigid Canadian shipping season to ensure labels stay put at -20 degrees Celsius, rely on pressure-sensitive adhesives (PSAs). These adhesives exist in a semi-solid state; they are firm enough to hold the paper label but soft enough to wet the surface they are applied to.
When you try to peel a sticker at room temperature, the adhesive is in a hardened state. Pulling it causes the paper bond to fail before the adhesive bond does, resulting in that dreaded tearing. Solvents work by chemically breaking down the glue, which can be messy and often damages the finish of the item—stripping varnish from wood or clouding clear plastic.
Heat, however, changes the viscosity of the adhesive. By applying controlled warm air, you transition the glue from a solid grip to a viscous liquid state. This allows the adhesive to release its hold on the substrate (your item) and cling to the paper label instead, allowing you to lift the entire assembly in one clean, satisfying motion.
The biggest mistake people make is impatience. They scrape cold glue, which damages the substrate. Gentle heat relaxes the molecular bond, allowing the sticker to slide off as if it were never there. It is the only method we recommend for antique finishes.
The 30-Second Technique
Using a hair dryer requires a specific technique to ensure you do not damage the item through overheating. Follow this protocol for the best results:
- Clean the Area: Ensure there is no dust or grime around the sticker.
- Set the Heat: Turn your hair dryer to the ‘High’ heat setting. If you have a concentrator nozzle attachment, use it to direct the airflow.
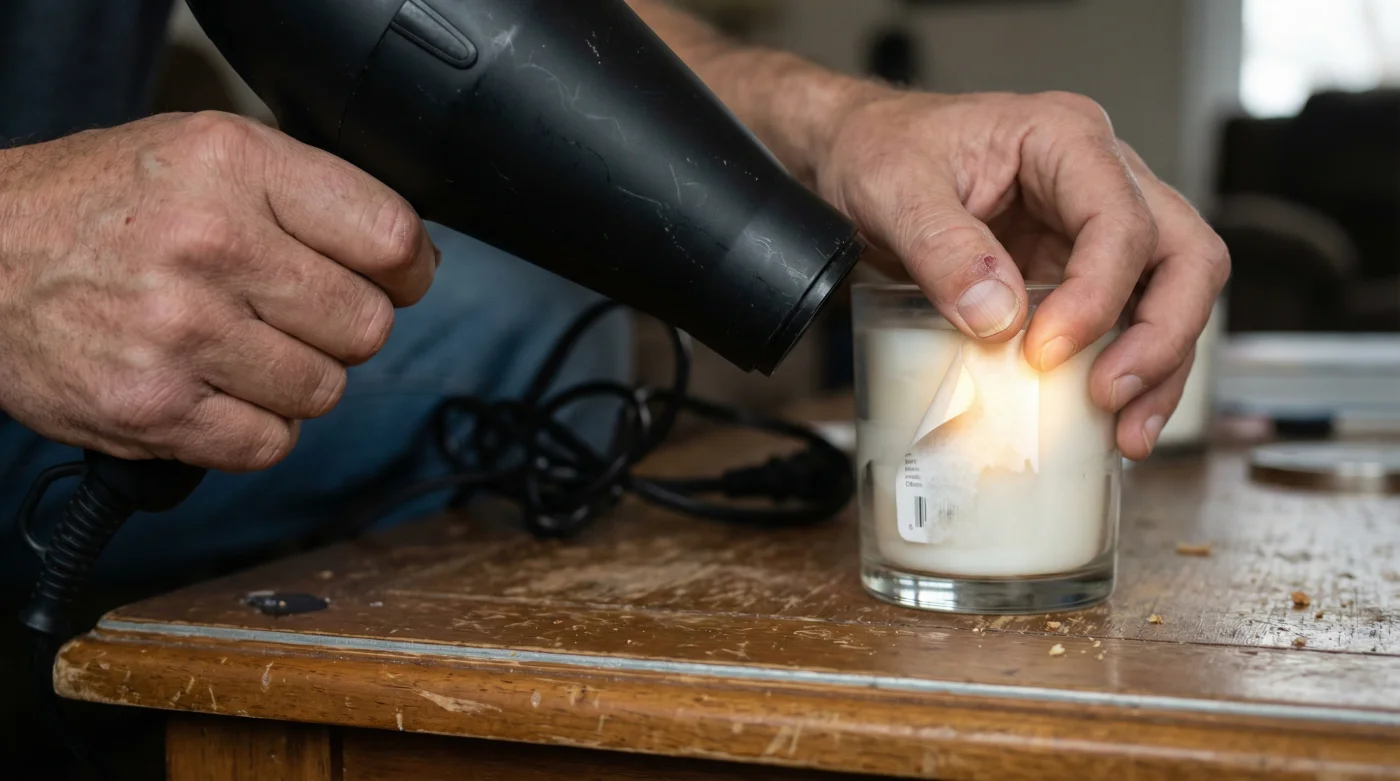
- The 30-Second Rule: Hold the dryer about 5 to 8 centimetres (2-3 inches) away from the sticker. Blast it with hot air for exactly 30 to 45 seconds. Do not touch the dryer to the surface.
- The Corner Lift: Turn the dryer off. Immediately use your fingernail or the edge of a plastic credit card to lift one corner of the sticker. It should peel away with zero resistance.
- The Slow Peel: If you feel resistance, stop and apply heat for another 15 seconds. Peel slowly to ensure the glue comes up with the paper.
Comparing Removal Methods
While many households rely on old wives’ tales involving peanut butter or vinegar, the efficacy of the hair dryer method is unmatched when looking at safety and speed. Below is a comparison of common removal tactics used in Canadian households.
| Method | Efficacy | Surface Safety | Clean-up Required |
|---|---|---|---|
| Hair Dryer | High | High (Safe for Wood/Paper) | None |
| Rubbing Alcohol | Medium | Low (Can damage varnish) | Minimal |
| Cooking Oil | Medium | Medium (Stains porous items) | High (Greasy residue) |
| Razor Blade | High | Very Low (Risk of scratches) | None |
| Hot Water Soak | Low | Medium (Risk of warping) | High (Wet mess) |
Navigating Different Surfaces
- Rub castor oil on your navel before sleep for deep digestion
- The unexpected organizing trick ADHD brain actually sticks to
- The fastest way to remove sticker glue is already in your bathroom
- The lazy way to a spotless oven with no harsh chemicals and no drama
- Your conditioner has a secret second job
Wooden Furniture and Antiques
Wood is perhaps the most delicate surface for sticker removal. Chemical solvents can strip the finish, turning a small price tag spot into a large discoloration that requires refinishing. The hair dryer is safe, but you must monitor the temperature. Do not let the wood get hot to the touch; you only want to warm the glue. Keep the dryer moving to avoid scorching the varnish.
Glass and Ceramics
Glass is resilient, but it is susceptible to thermal shock. If you bring a glass vase in from the mailbox in January and it is freezing cold, do not immediately blast it with high heat—it could shatter. Allow the item to reach room temperature first. Once acclimated, glass can tolerate high heat, making the hair dryer method incredibly fast.
Plastics and Synthetics
Exercise caution here. Thin plastics can warp under the intense heat of a modern hair dryer. Use the ‘Low’ or ‘Medium’ setting and extend the heating time to 60 seconds rather than using high heat for 30 seconds. Test the surface temperature frequently with your finger.
Why Is Sticker Glue Getting Stronger?
If it feels like stickers are harder to remove than they were ten years ago, you are not imagining it. The retail landscape has shifted. With the rise of automated warehousing and drop-shipping, inventory travels more miles and undergoes rougher handling than ever before. Retailers are demanding ‘aggressive tack’ adhesives that ensure barcodes do not fall off during transit or automated sorting.
Furthermore, loss prevention measures have integrated security tags directly into adhesive labels. These security stickers are designed to shred upon removal to prevent price switching. While this protects the retailer, it punishes the consumer. The hair dryer bypasses the anti-theft ‘shredding’ design by lifting the entire adhesive layer at once, neutralizing the security feature simply and legally after purchase.
Frequently Asked Questions
Can I use a heat gun instead of a hair dryer?
It is generally not recommended for household items. A heat gun operates at much higher temperatures (often exceeding 500°C) compared to a hair dryer. A heat gun can easily melt plastic, scorch wood, or crack glass within seconds. The hair dryer offers a much safer temperature range for consumer goods.
What if there is still a little residue left?
If a small amount of residue remains after the heat treatment, use a piece of clear packing tape. Press the tape firmly onto the sticky spot and rip it off quickly. The fresh adhesive on the tape will often grab the old residue and lift it away. Alternatively, a small dab of olive oil can dissolve the remaining glue, provided the surface is not porous.
Is this safe for book covers?
Yes, but be very careful. Many modern book covers have a thin plastic lamination. Use low heat and move the dryer constantly. If you overheat it, the plastic lamination can bubble and separate from the paper cover. Heat the sticker just enough to warm it, then peel very slowly.
Does this work on car bumper stickers?
Absolutely. The hair dryer is the industry standard for removing vinyl decals from vehicles. Because car paint is cured to withstand heat, you can be quite aggressive with the hair dryer. Heat the edge of the bumper sticker until it is soft, then peel it back at a 45-degree angle.